 Just in time for Me Made May 2016 I’ve added another staple to my wardrobe, a cream coloured light weight biker jacket.
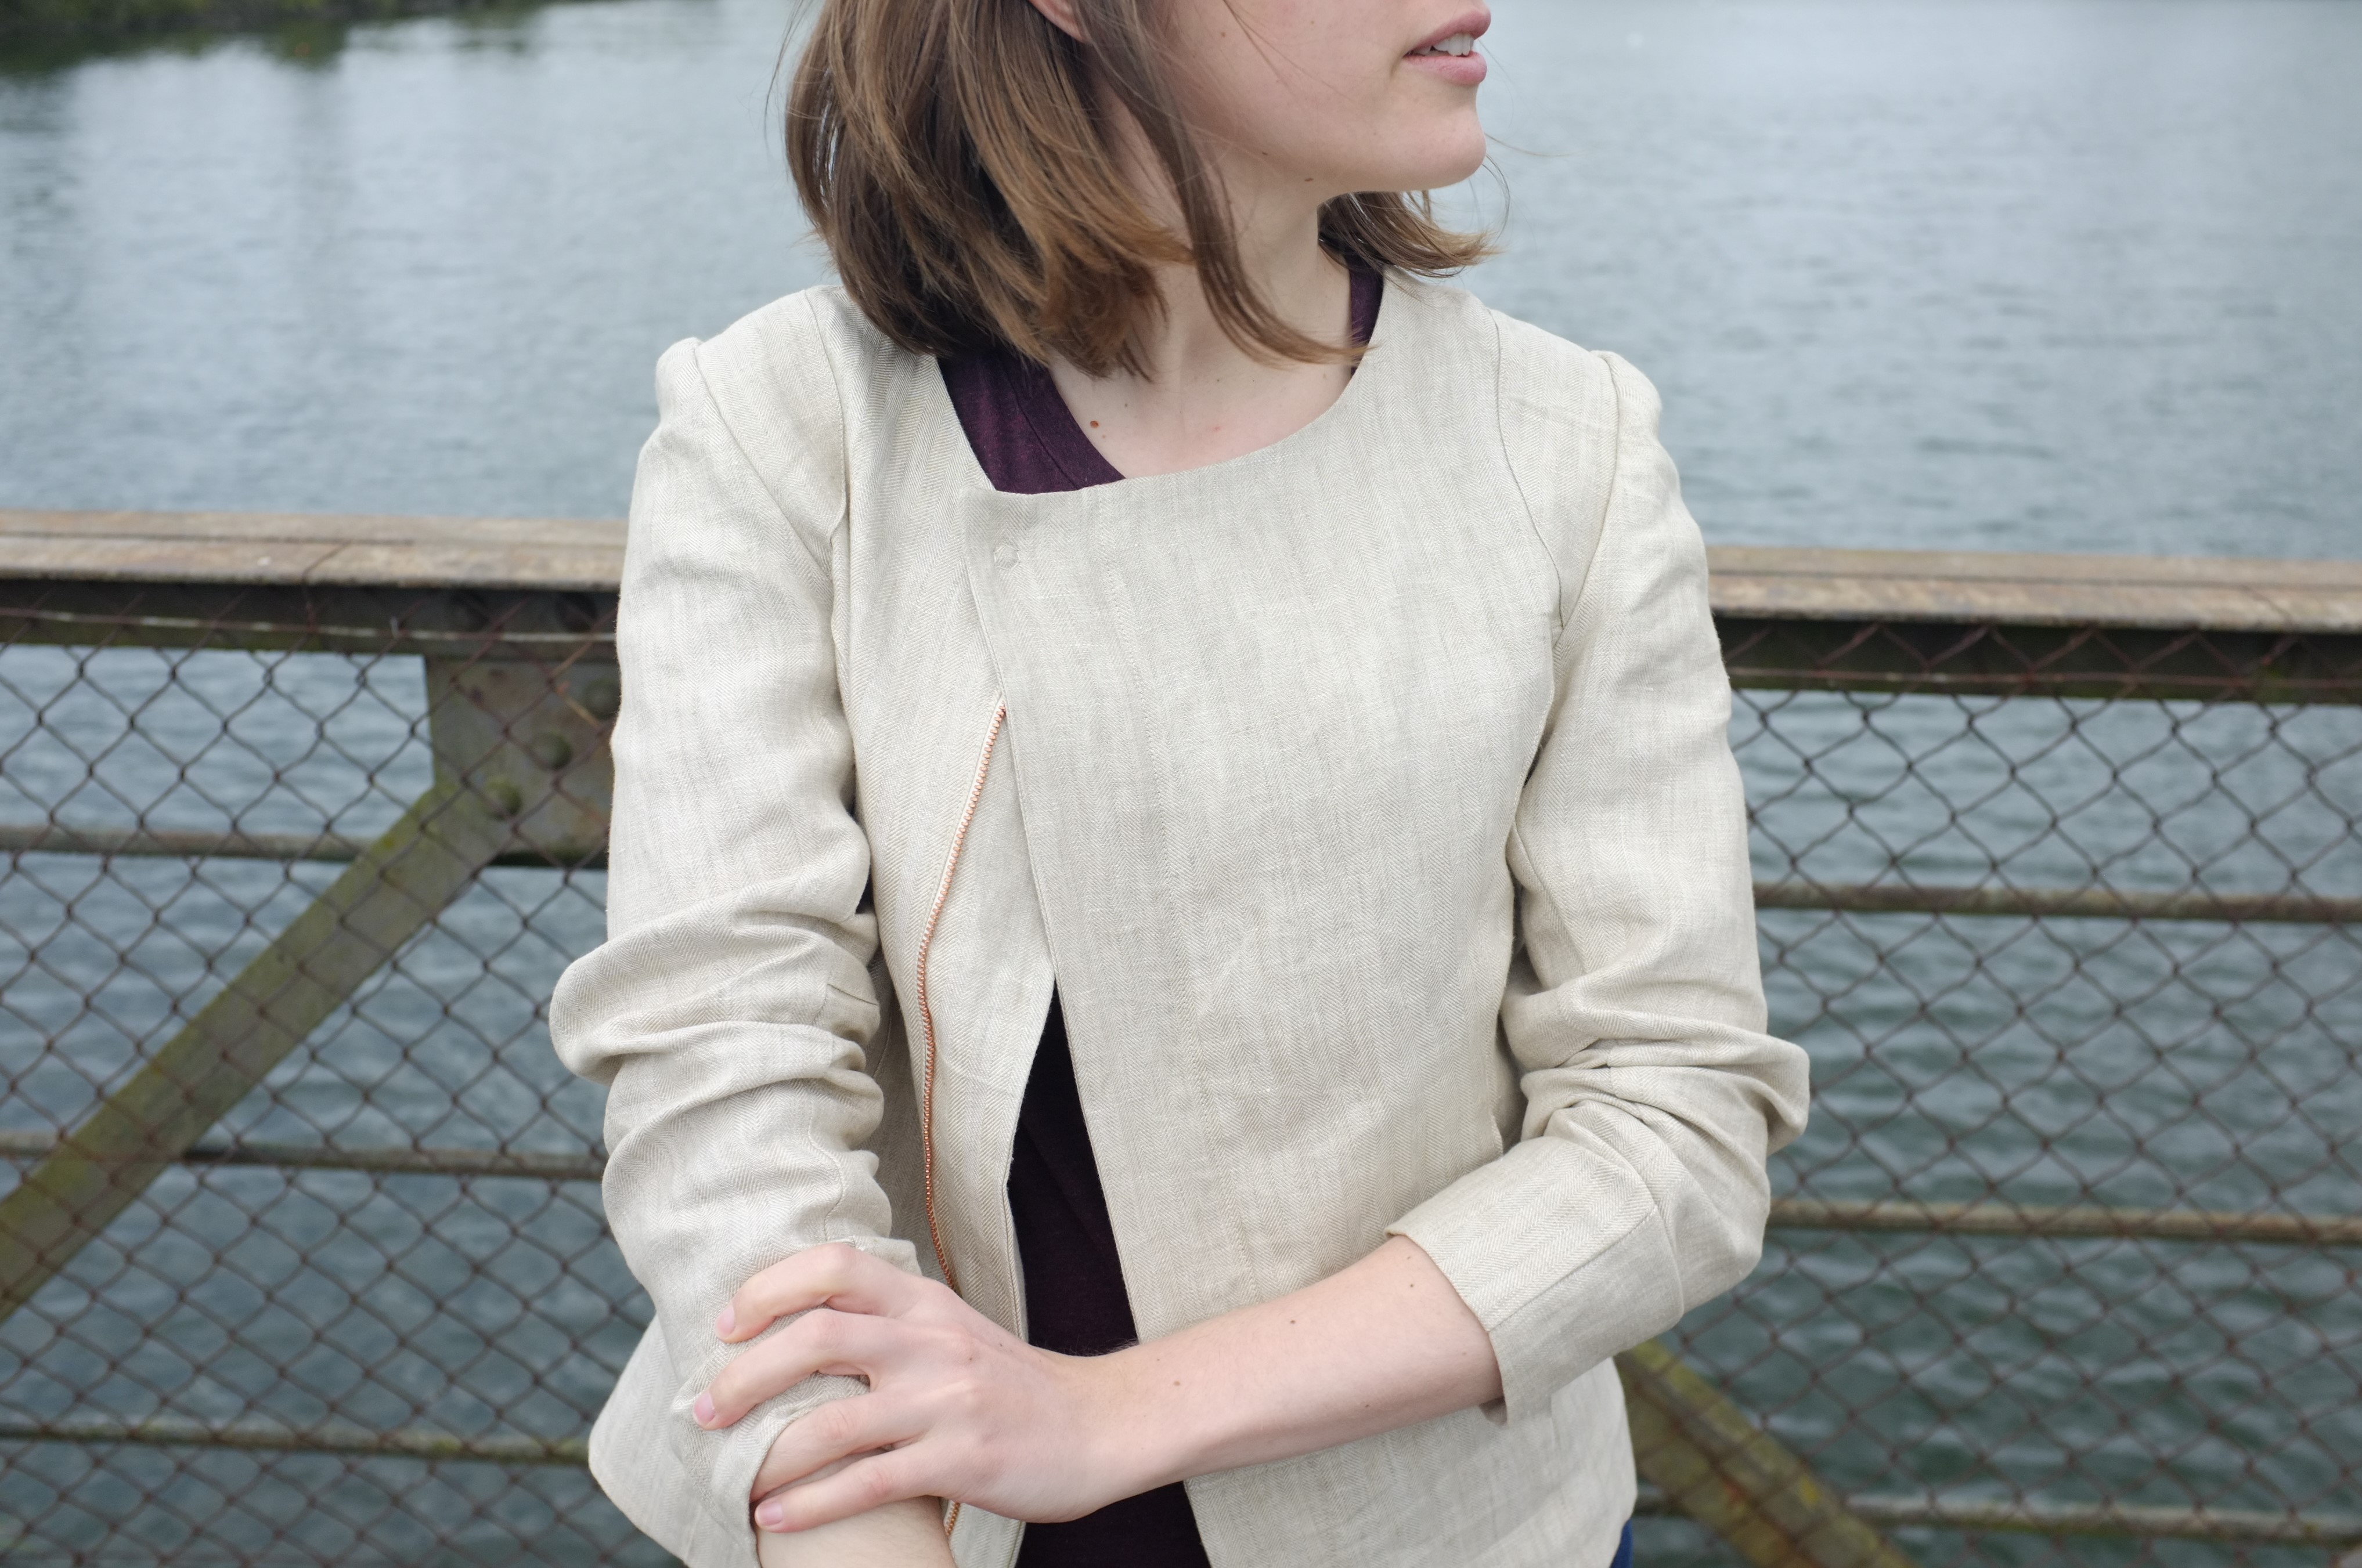
I’ve had this lovely herringbone linen sitting in my stash for quite a while. My mother picked it out for me and I’ve been looking for the perfect pattern since to do this gorgeous fabric justice. When my friend brought me back a Patrones sewing magazine from Spain last year and I saw the biker jacket on the cover I knew I had found the perfect match.
Since I hadn’t sewn anything from a Patrones pattern before I decided to do a full muslin. It’s very rare that I actually make muslins; in most cases I just use cheap fabric to try out a pattern. In this case I actually really enjoyed the muslin process. It’s a lot more fun when it’s a complex garment and the muslining feels like proper engineering. The fit actually wasn’t too bad from the start. I made a Spanish size 42. As expected I had to lengthen the sleeves and the body. I also took in the shoulders and added more room around the hips. Thanks to the princess seams at the front and back it was very simple to make adjustments to the pattern.
The construction itself unfortunately didn’t go that smoothly. The linen as well as the Cupro Bemberg lining were very shifty and it was impossible to be exact in the cutting. Instead of using some stabilizer, I decided to just forge ahead; after all I was going for the crumpled linen look which should allow for some inaccuracies.
The instructions, like Burda Style instructions, were very sparse, so I abandoned them quite quickly and treated the pattern like a jigsaw puzzle. As I had figured out the basic construction when doing the muslin I thought it wouldn’t be very difficult to sew up the final garment. I was wrong… Only after 2 hours of pocket construction and topstitching I realised that I had mixed up the front and back side pieces. I had to take the whole thing apart and re-do it. The positive thing though, I can now construct princess seam pockets in my sleep ;-) For some reason I also managed to attach the sleeves the wrong way round, making the whole thing look like a straitjacket. Oh and when I put in the zipper I realised that the jacket closes the wrong way round. Why? Because I used the photo on the cover of the magazine to figure out the construction of the zip and not the technical drawing. The photo, I only later realised, was back to front. I should really learn to label my fabric pieces properly, especially with a fabric that looks the same on both sides!
To finish the jacket I attached the lining at the hems by hand. For the fastenings I used a copper metal zipper and coordinating sew-on snaps which I got from MacCulloch & Wallis, together with the lining. I just love the copper against the cream fabric!
It is a little bit hard to see in the photos, but the jacket has lovely curved seams which I highlighted with some subtle topstitching. I especially like the little detail where the shoulder piece meets the princess seam. The pockets are tiny, as expected since they are sitting in the princess seams. I still decided to keep them as I love how the pale blue lining peeks out and I like to be able to put my hands somewhere.


 While this jacket definitely was not my smoothest and most accurate make I ended up with a lovely summer jacket. I know I will get a lot of wear out of it now that it is warming up here in the UK. Yay, to versatile garments, that you can add to any outfit! Here I paired it with a rtw t-shirt and my favourite high-waisted Ginger Jeans.
Happy Me Made May everyone!
