Self-drafted Beach Robe

robe_01The issue about going on holiday at the end of summer? By the time you finish blogging your summer holiday wardrobe everyone is well into autumn (I’m counting on some readers from the southern hemisphere here!). This week it really hit me that autumn has started, we even put on the heating for the first time yesterday.

Nevertheless, I quickly wanted to share this little robe that I drafted the week before I went on holiday. I had gotten this linen fabric already in July back in Germany together with other linen and denim fabric. The fabric has a subtle floral/cloudy print and I actually got for free as a remnant. As I was flying only with hand luggage I had to post it and nervously waited for it to arrive as I knew I wanted to make a simple beach robe for my holiday. It arrived just in time and luckily the robe was a very quick make.

I didn’t have any robe/kimono patterns in my stash (or at least none that I liked) so I decided to draft my own. It was fairly straight-forward. Basically I cut a piece twice as long as I wanted the robe to be (plus seam allowance for the hem) and as wide as half my hip measurements + some overlap at the front + seam allowance. Then I took a strip of fabric (ca. 7cm) out of the centre front up until roughly the middle of the whole length. Draping it over my dressform, I then scooped out the neck until the front and the back were at the same level. For the side seams I decided to use the shape of my Tea House Dress where I loved the kimono sleeve shape. Once assembled, I hemmed the dress and added a band around the front opening to give the neck more of a kimono style. The sleeves are finished by simply serging the edges and folding them up twice. They are secured in place with a couple of hand stitches. I added belt loops and a sash to close the robe and put patch pockets on the front. The shape and size of these pockets was actually determined by my Kindle, as I planned to do a lot of reading at the beach. Isn’t it just the best when you can customise your garments to meet exactly your needs?

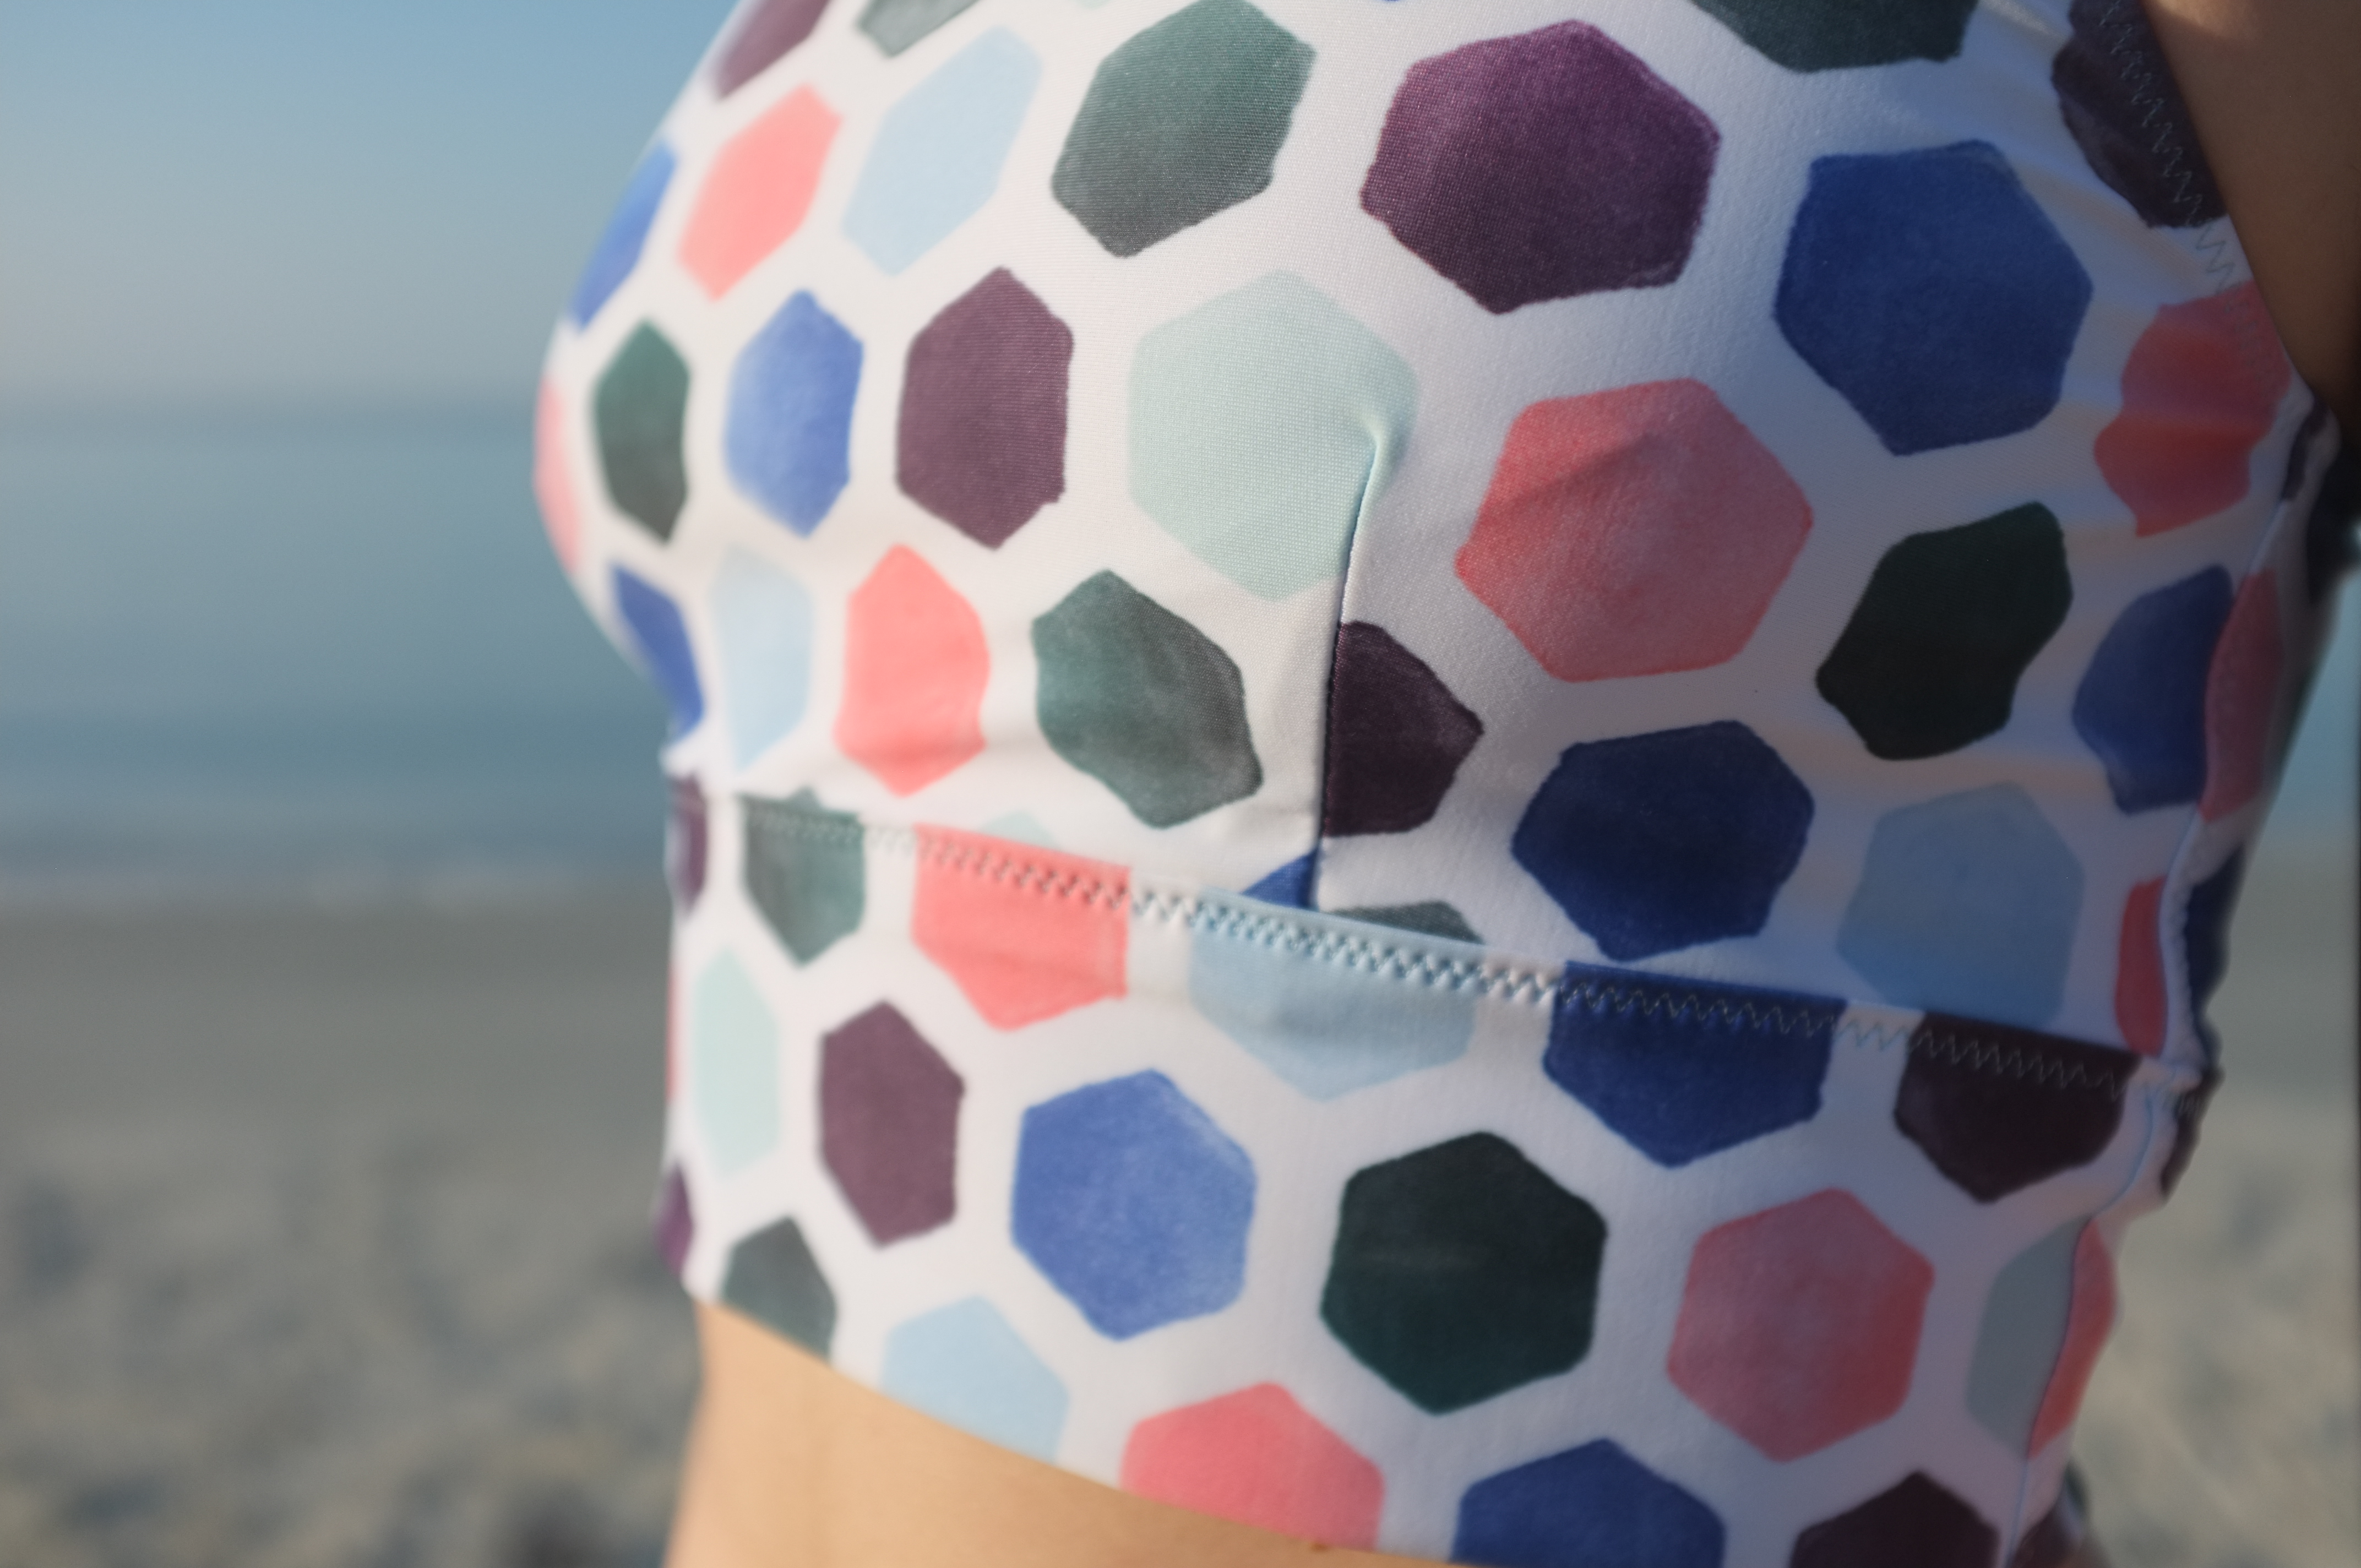
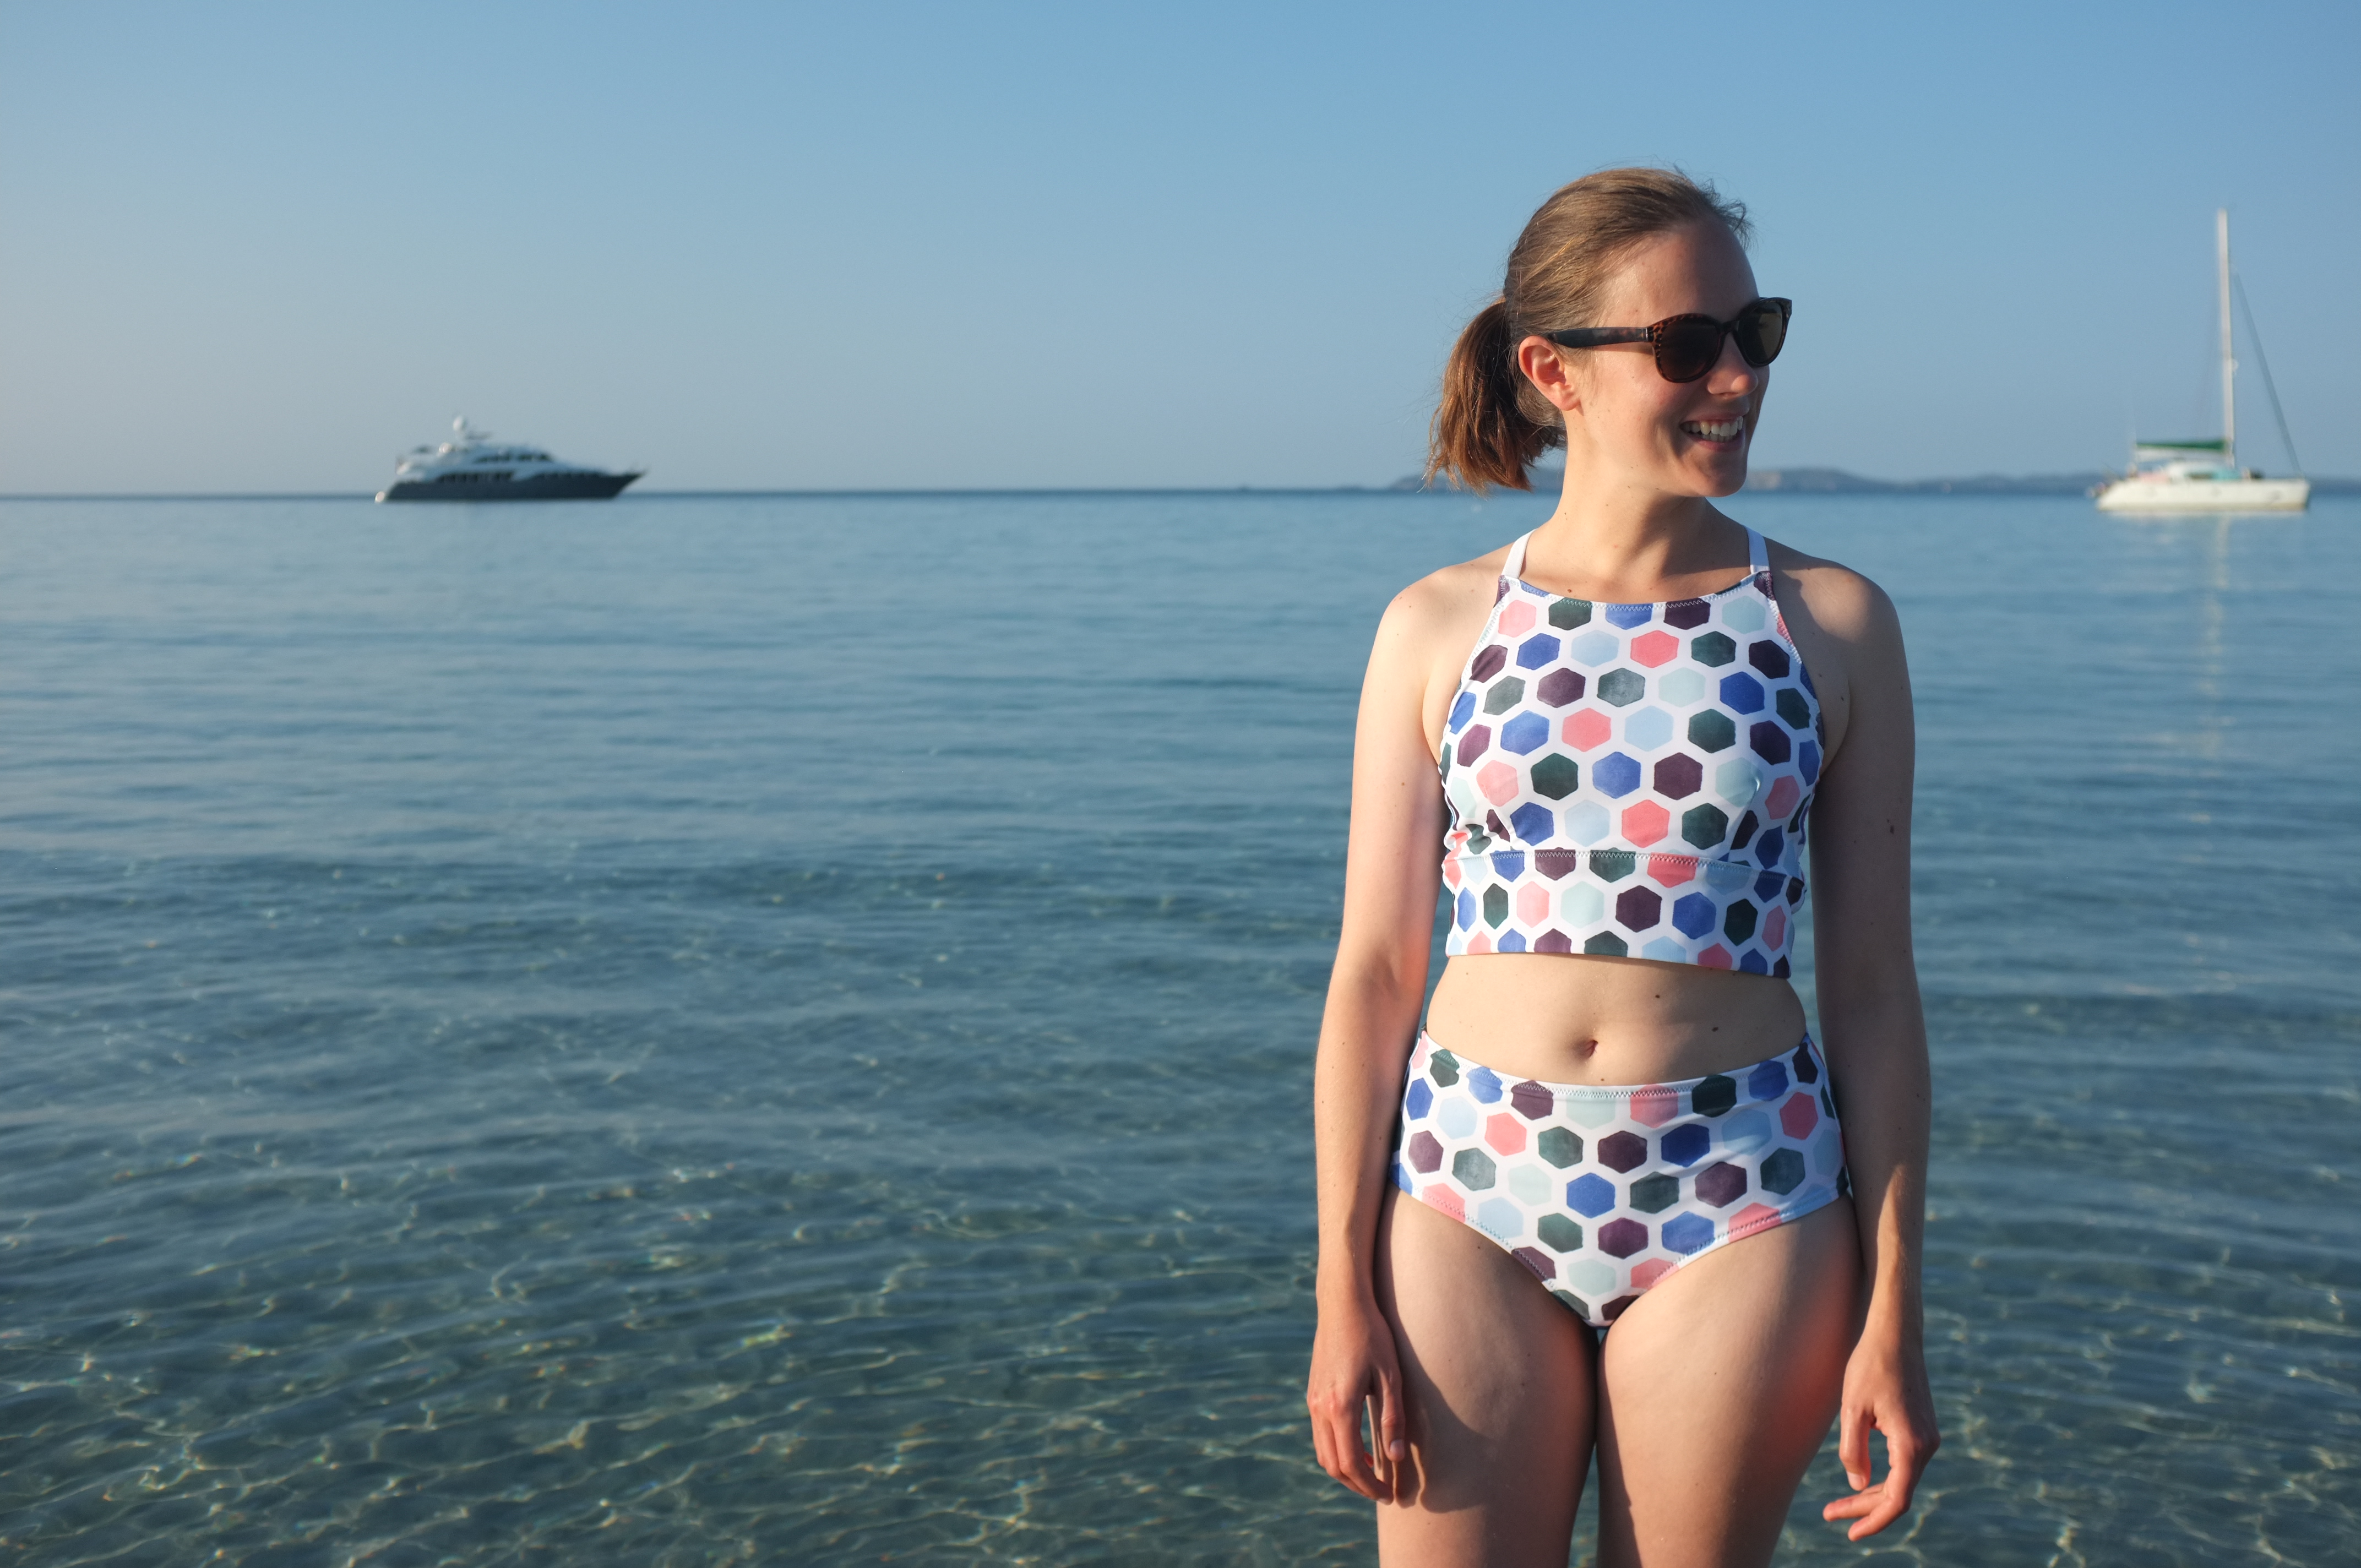
I’m quite happy with how it turned out. The crumpled linen look has its charm and without shoulder seams its super comfortable to wear. It was really the perfect thing to wear over my swim suits (here my new Noelle Swim Suit) on the way to and from the beach. I actually wore it every single time. Now that I’m back to real life, I’m not quite sure how I’ll incorporate it into my wardrobe. It’s too short and revealing to wear as a dress, but I always fancied having a morning robe, maybe I should just get used to wearing it around the house…

robe_02 robe_03 robe_05 robe_06 robe_07

Dove Blouse

dove_13One thing that I love about the sewing community is how supportive people are of each other. One part of it is the pattern testing for indie pattern designers. I’ve been wanting to do some pattern testing for a while, but with my busy life it’s often impossible for me to meet the tight deadlines for pattern testing. When I was given the opportunity to test out Megan Nielsen’s newest pattern, the Dove Blouse; however, I made sure to squeeze it in. I’ve been following Megan for ages, and really loved the style of the blouse, so I just had to say yes.

The Dove pattern is a v-neck blouse with lot’s of interesting details, such as bell/sleeves, top-stitched neck facings and a curved high-low hem. Some of these details were out of my comfort zone, but for the pattern testing I decided to sew it up by the book. For the sleeves I went for Version 2, the flared sleeves. Even though I doubted that I would wear flared sleeves a lot (they seem quite impractical, and I’m all for practical clothing), I wanted to try this sleeve shape and figured I could still hack them off if I didn’t like them.

dove_04In my small fabric stash, I didn’t have any suitable fabric but luckily a work trip brought me to Copenhagen. There I visited Stoff & Stil, a shop that I had wanted to visit for ages. They have a lovely selection of affordable fabrics. I wanted something light and floaty and went for this Inka Print Viscose. It’s a really lovely fabric, which feels great against the skin and doesn’t wrinkle much. I definitely should sew more with viscose!

The construction of the blouse was very straight-forward. The instructions are clear and very detailed. The only construction issue I had was caused by a cutting error on my part. I didn’t cut out the neck facing properly (was confused by a line parallel to the centre front line) and ended up with a facing that was slightly wider and longer than the neck opening. I realised this too late and had to correct it by shortening the facing at the shoulders. It worked out ok, but it means that the facing doesn’t have the exact shape of the opening and doesn’t sit as flat as it could. Apart from that, sewing the blouse was a breeze and I really enjoyed the construction, thanks to some new-to-me techniques: french darts, hem facings, and tiny rolled hems for the sleeves. The seams are all finished with my overlock. As the blouse has a centre seam down the front, I also took the opportunity to improve my pattern matching, which turned out really well.

In terms of sizing, I chose to make a size S. Due to the curves of the hem, I decided I could get away with not grading out to an M at the hip, which turned out to be the right choice, as I find I have plenty of room. Through the shoulders and the bust, the fit is spot on. The v-neck on my small bust, is borderline too low for my taste, so I might raise it a little bit next time. This issue; however, is not visible in these photos as the neck is dragged to the back slightly during wear. I suspect this issue is caused by the slippery fabric and the fact that the back is a lot longer than the front. In the published version of the blouse, the front is lengthened by 2.5 cm, so this might not be an issue anymore.

dove_01dove_03dove_04dove_05dove_06dove_07dove_08dove_09So how do I like the Dove?

This is definitely a statement blouse, something I didn’t have in my wardrobe before. The sleeves are quite unusual and do sometimes get in the way, but they work well on a night out (I wore this to a hen do) or can be tamed under a cardigan. My favourite feature is the faced hem. Even though the difference between the front and the back is a tad too extreme for my taste (as mentioned, this has been changed in the final patterns), I absolutely love the shape of the hem. Thanks to the sleeves the blouse feels very seventies, which immediately inspired me to pair it with this vintage leather skirt and hippie hair (as hippie as I can go with my hair). We had lot’s of fun shooting this, me running through the Hinksey fields, picking flowers. While we were completely alone for most of the time, suddenly a group of monks hiked past us, who must have thought we were crazy. Oh the joys of taking blog pictures! Having so much fun, we of course ended up with a lot of weird photos of this blouse, which my boyfriend calls the wizard blouse. Enjoy!

dove_10dove_11dove_12dove_14dove_15

Merken

Merken

Noelle Swimsuit

noelle_01Whenever I read about people being stressed about their last-minute holiday wardrobe plans, I just couldn’t understand why they would do that to themselves. And suddenly it was me that was working frantically on a swimsuit the day before our flight. So how did it come to this? This year for the first time in ages, we had booked a two-week beach holiday (in the South of France). We knew well in advance that we were going and I knew that I wanted to use this as an opportunity to try out sewing swimwear. So I started to search for swimsuit Lycra, and I searched and searched. First I thought it was just not the season for this type of fabric, but then when spring and summer approached, I realised I just couldn’t find anything I liked, at least not online. So the holidays were quickly approaching and I didn’t even have the fabric…

Then I saw bloggers posting about the UK fabric printing service Contrado and decided to give it a go. I had done some fabric design once before, when I made a dress for my mother using the German service stoff’n. The service was good, but the choice of substrate was quite limited. Contrado on the other hand has more than 90 fabrics to choose from, including several types of swimsuit Lycra. I ordered a swatch pack and decided to try the Slinky Lycra Matt which had a nice weight to it. For the designs I played around with my favourite colours and created a simple hexagon pattern. I did the original designs by hand in water colours and then together with my brother (my Photoshop skills are non-existent) digitalised the print.  The great thing about Contrado is that you don’t have to buy the fabric by the meter, but you can choose an individual length. This was very handy for the swimsuits, as the fabric is relatively expensive and one meter would have been too much and so I decided to only order 80 cm (which was more than enough). I was so excited when the fabric arrived at my doorstep. Printing fabric is not cheap and I found it difficult to imagine the exact scale of the pattern, so I couldn’t wait to hold it in my hands. For this pattern I wanted to go bold. It turned out exactly as I’d hoped, and the quality of the fabric so far seems to be really good.

Never having sewn a swimsuit before, I wanted to start with something quick and not too complicated (the Sophie Swimsuit was earmarked for later). Once I had the fabric in front of me, I knew I wanted simple style lines to put the fabric in the focus. After some browsing online, I realised that Madalynne’s free Noelle Bra and Panty pattern would be the perfect match. I’ve been drawn to sporty and high-neck styles lately and have to blame Madalynne for that.

I made the pattern in a size M based on the size chart and the fit was spot-on. The only thing I changed was to lower the rise of the panty slightly as it hit me at an awkward spot. Next time I would also take in the waist a tiny bit.

In terms of construction I used temporary spray adhesive to baste the lining to the shell fabric. Then I followed the instructions to put it all together. The instructions are short, but the garments are so simple, that this wasn’t a problem for me at all. Instead of lingerie elastic I used swimwear elastic (ordered from MacCulloch & Wallis) to finish the edges. The bra strap and the ring to slide the strap through at the back were salvaged from a bodysuit, which I had picked up for cheap to cut up. The main parts came together quite quickly only the leg openings were a struggle. Due to the thickness of the fabric and the elastic, there was just too much bulk where the elastic overlapped and my machine just couldn’t handle it. In the end I decided to replace the swimwear elastic with some lingerie elastic (which involved some painful unpicking of the triple zigzag stitch) and it worked a lot better (not sure how it will hold up over time though).

So what is my conclusion? Making your own swimwear is a lot less difficult than it looks. My fabric sewed up beautifully, thanks to its thickness and the use of a ballpoint needle. While I was afraid that the zigzag stitch for finishing the edges would look home-made I actually think it doesn’t look too bad. So far the swimsuit has held up really well in the French sea and was super comfortable.

I absolutely love the shape of the Noelle bra, especially how the back feature sits between the shoulder blades. The set has a great amount of coverage making it look sporty but modern.

noelle_02

noelle_04

noelle_05

noelle_06

Best memory wearing this two-piece so far? Showering under the rain gutter and washing dishes in the pouring rain during an un-announced 24h water cut, one of the highlights of our trip.

Now if I just could go back to sleeping, reading, swimming and eating French food all day long…

noelle_07