
My second Summer of Basics piece(s) is done: a pair of espadrilles. This was my first venture into shoe making and it was a lot of fun!
For a couple of years now I’ve been searching for the perfect pair of summer shoes. After a pair of navy canvas shoes, that I bought in Spain ages ago, bit the dust, I started the search for a replacement pair. I’ve now been through the 4th pair, and none of them were comfortable. I even invested in a pair of Superga sneakers and had to give them away because I was getting blisters. I’m not sure if I have hyper-sensitive feet, but really nothing was working. So when I though about the third element in my Summer of Basics plan, it hit me that I could easily make canvas shoes myself.
I’ve seen the Espadrilles kits everywhere this summer and lots of cute versions online. So why not give it a try? I got the Prym soles, leather needles and interfacing from Guthrie and Ghani. The thread was some cream embroidery thread that I had in my stash.
For the fabric I was debating whether my wardrobe could take any more pink pieces. Since my latest avocado dyeing experiment, it has become one of the dominant colours in my wardrobe. In the end the scraps from my Blaire shirt were just the right size and too pretty to be wasted, so pink it was. Also for the lining I chose fabric that I had already used for my shirt (Cotton + Steel, Melody Miller quilting cotton “Peaches orchid”, originally from Miss Matatabi, but not stocked any more), for a super matchy-matchy look.
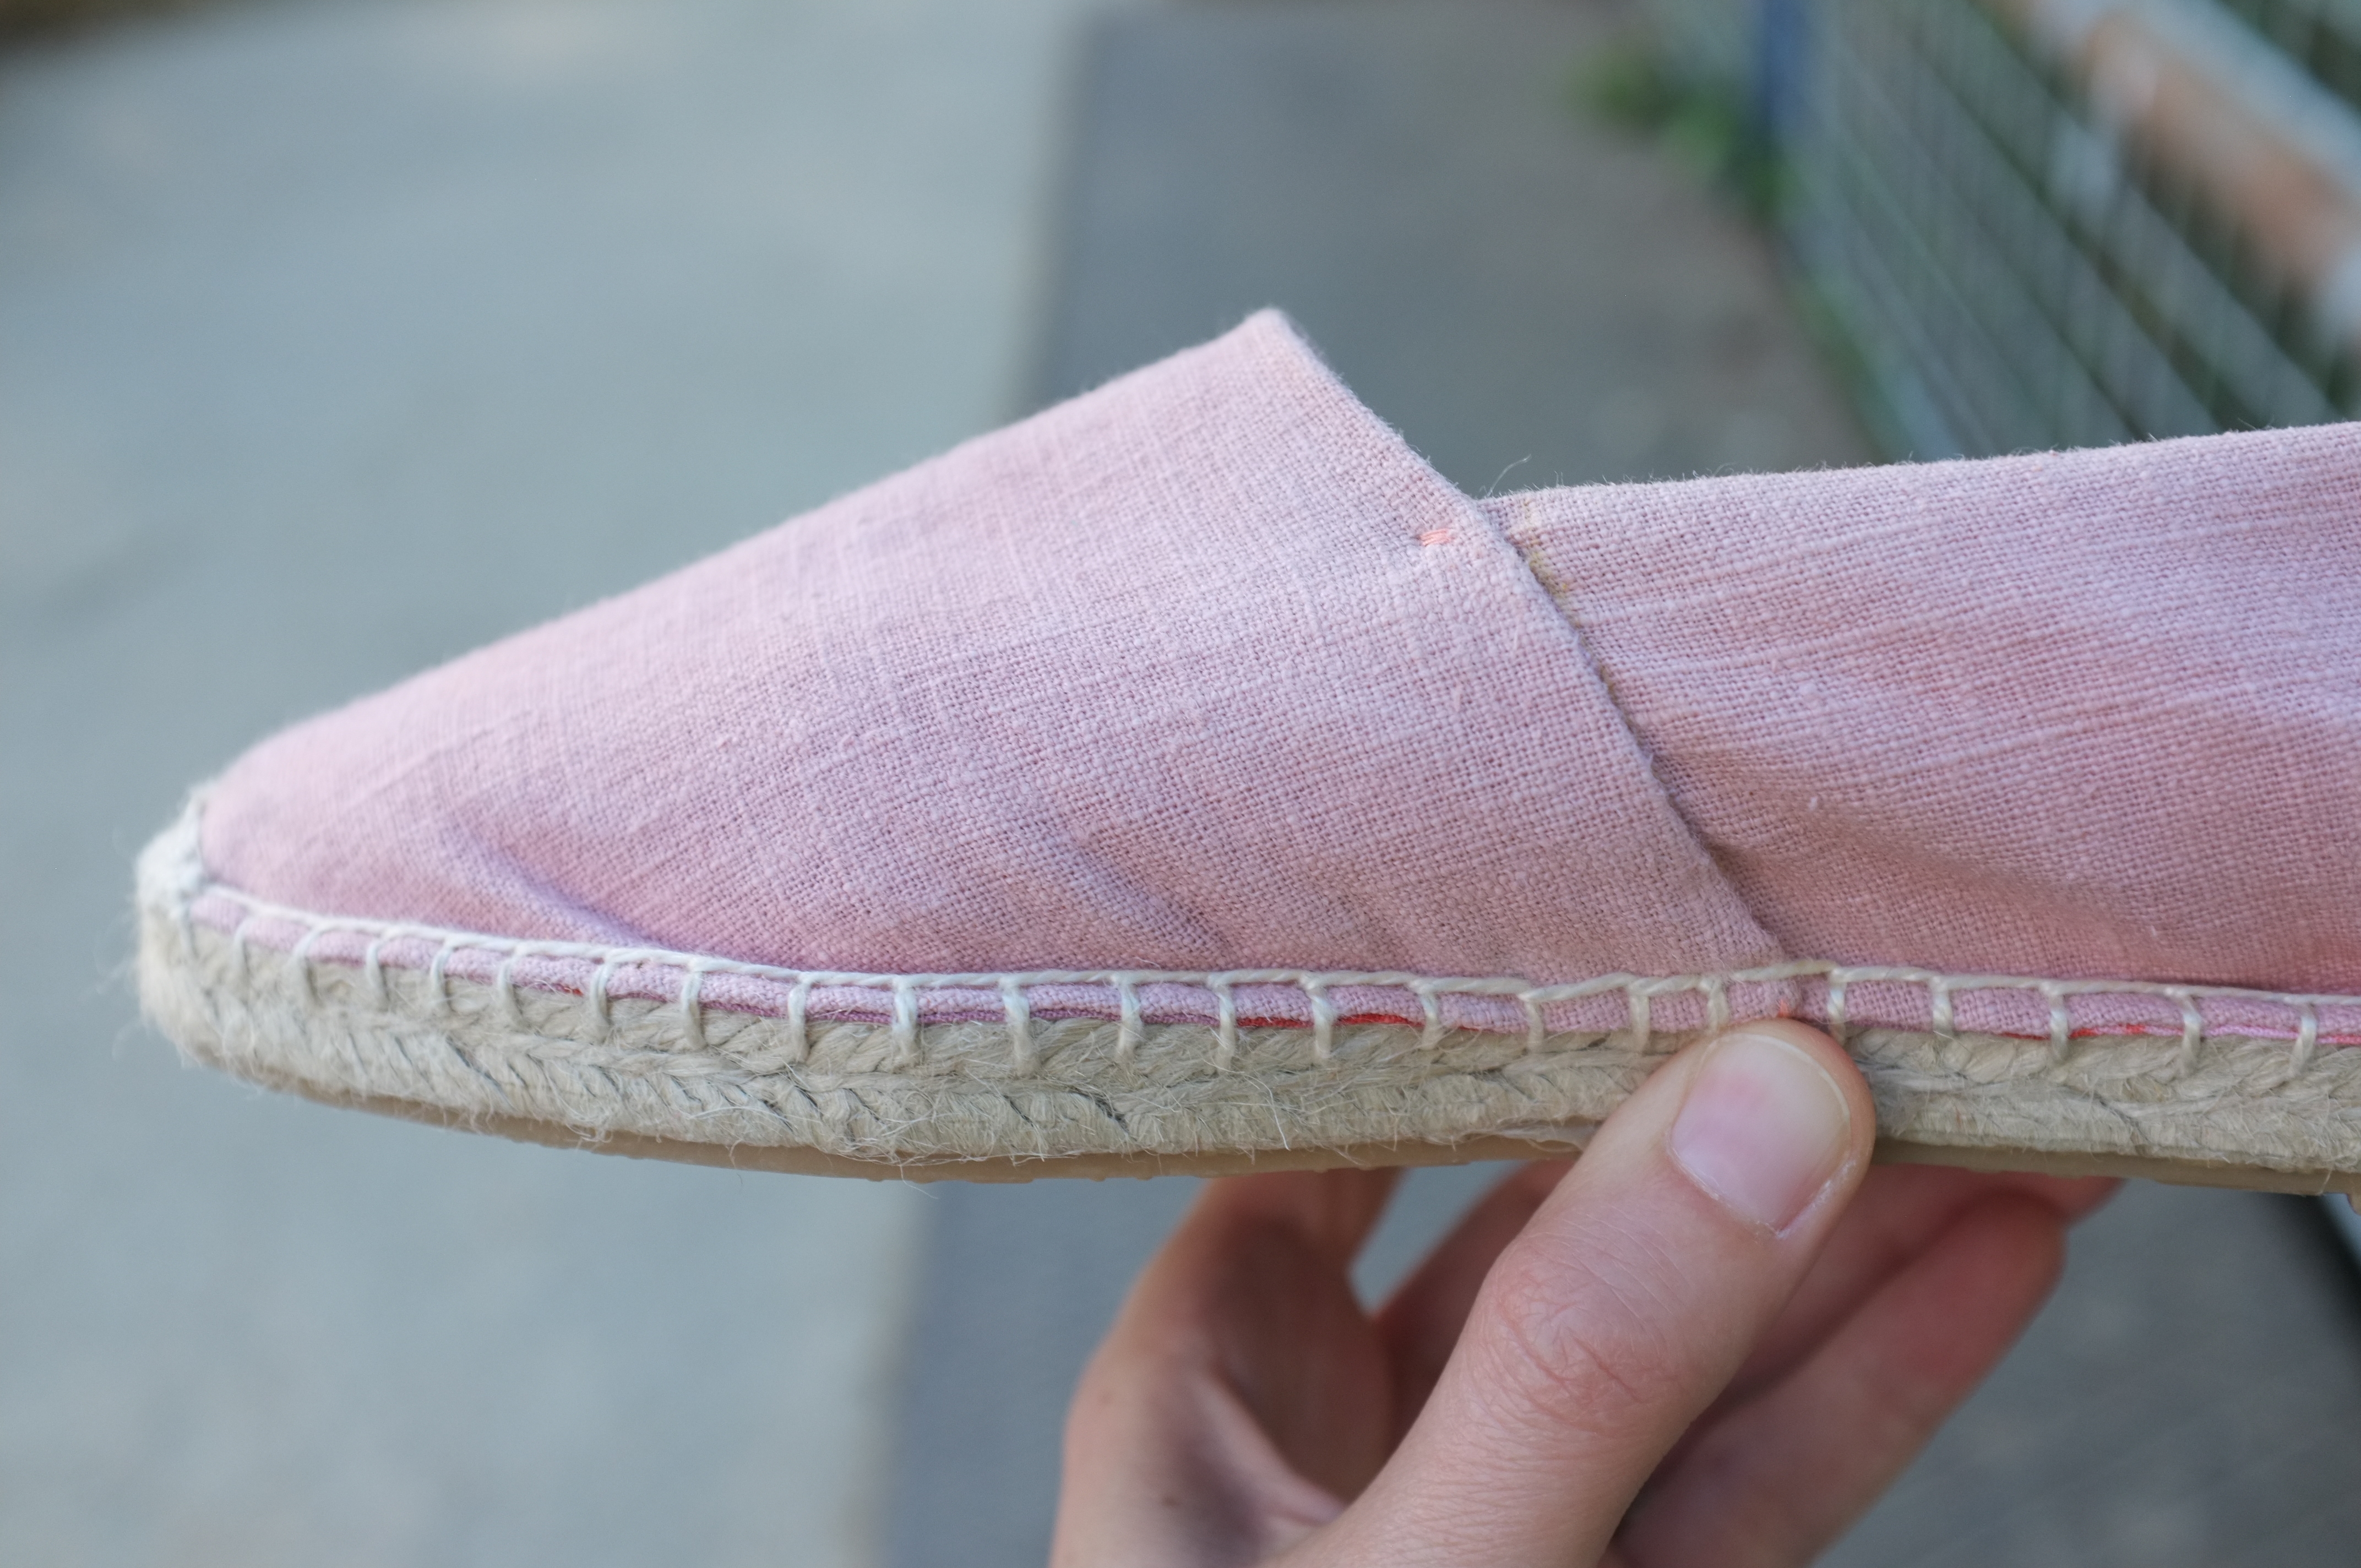
The Prym soles come with the pattern pieces but no instructions; however, there are many good tutorials out there. I watched this video from The Makery and referred to this blog post from Sophie of Ada Spragg. I won’t go too much into the details of the construction but the basic steps where as follows: I interfaced the outer fabric pieces with medium weight fusible interfacing, sewed the shell and lining pieces together, turned them inside out and attached them to the soles with a simple blanket stitch. The side seams were closed with a slip stitch and bar tacks at the top and the bottom of the seam. Finally I stitched the toe re-enforcement, which is basically filled-in blanket stitch. Sophie is right this detail really elevates them from slightly crafty to quite professional looking.
All in all it was quite a straight-forward process. The trickiest bit was probably pushing/pulling the needle through the sole. This required a lot of force and even using a good thimble, I still had sore/numb fingers in the end. Apparently you can buy an Espadrilles Tool Kit , which includes little rubber grippers that according to Melissa make all the difference. Next time…
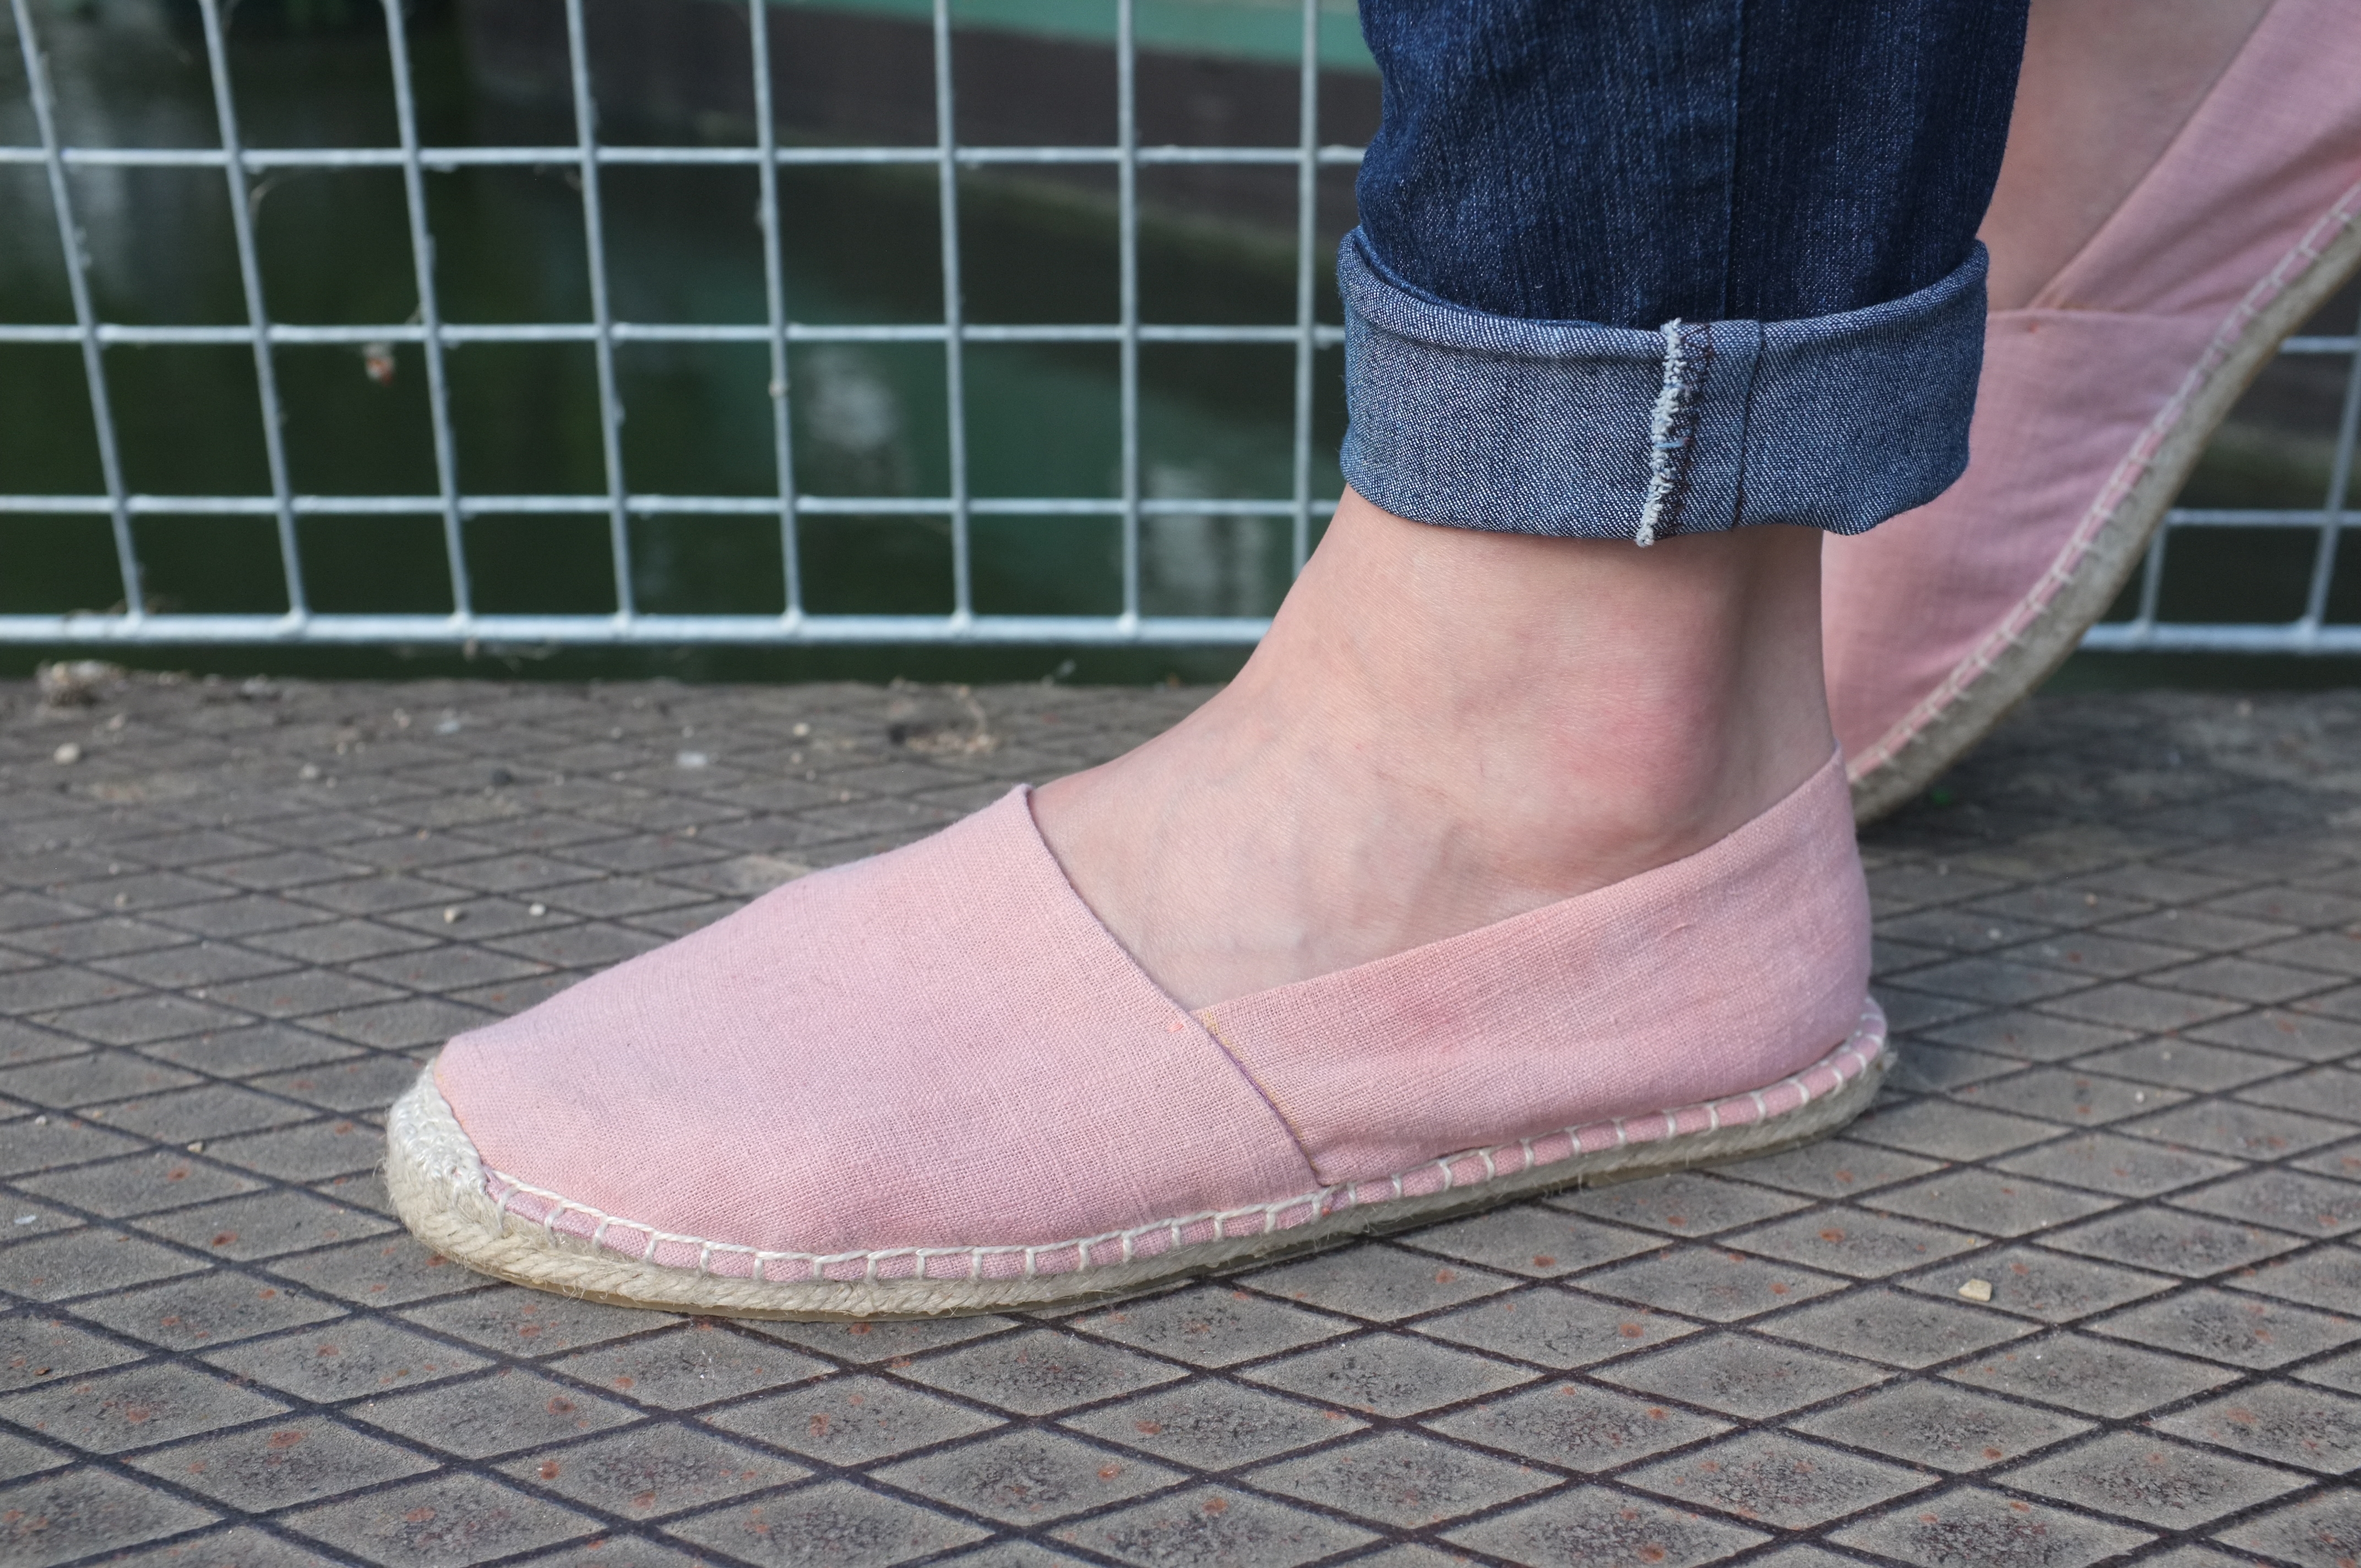
In terms of sizing I went with a size 40 (typically falling between a 40 and a 41). When I first tried them on, I thought they were a little bit slim around the front, but once I had finished fitting them I realised that they need to be relatively tight to not slip off your foot. I actually had to re-adjust the side seam twice to make sure the back piece was tight enough. I would definitely recommend pinning the side seams and spending some time walking around in the shoes to make sure that they are not too loose.
Since finishing them last week I have already worn them on a walk to the pub and for exploring some beautiful Oxfordshire gardens and so far I’m super happy with them. They are very comfortable thanks to the limited amount of seams and the rubber soles make them feel quite sturdy. The best thing of course: they are pink and this colourful lining just makes me happy! If you are interested in shoe making, this is definitely a great beginners project.
Two down, one to go. These Summer of Basic pieces are coming together quickly! Next up some Ginger Jeans Shorts, I’m excited!


You can find best espadrilles from Amass Footwear Ltd in Bangladesh and espadrilles have no import duty for European countries.