 Hi everyone, it’s been a while. I’ve been struggling with the usual winter blogging issues: no daylight during the week and a lot of grey weekends which just didn’t give me a chance to get decent blog pictures. So today we finally managed to take a couple of pictures of a new outfit: an oversized sweatshirt and a pair of Lander pants.
Let’s start with the sweatshirt. When I was fabric shopping on Goldhawk road two weeks ago I came across this french terry at Misan West. I’m always on the look-out for cosy knits which are surprisingly hard to find. But this one was perfect, it’s super soft and the perfect ivory colour. It’s definitely on the lighter side, but thus perfect for summer and it works for layering in winter. My initial intention was to make a cardigan but then I realised that the fabric would be perfect for creating a copy of one of my favourite sweaters. It’s a white cotton cable knit sweater which I bought back in 2012 when I was studying in Copenhagen. It will have to be retired soon, but I adore the oversized shape which just always reminds me of the effortless Danish style. So I traced of the shape which is super simple. Basically it’s just a big rectangle for the body and smaller ones for the sleeves. It could probably be re-created by using the Grainline Studio Hemlock Tee.
The construction was quick and easy. I assembled the pieces with a stretch stitch on my sewing machine and finished the seams on my overlocker. The sleeve hems are just overlocked and then rolled up. The bodice hem and the neckline are finished with bands using the loopy side of the fabric, to mirror the rolled up sleeves. The neckline did need two tries to sit nicely. As the fabric is not very stretchy my first attempt of the neckline just didn’t lie flat. I decided to re-cut it with a slightly shorter length but twice as wide. Once attached I folded the neckband under and secured it with top-stitching around the neckline. This gives the neckline a nice structured look due to the 4 layers of fabric.
The final sweater has a lot of volume which I love but I do have to roll up the sleeves quite high to make sure I don’t dip them in food etc. So for a future iteration I might play around and slim them down a little. All in all this sweater is very close to its inspiration and will be really good replacement. Isn’t it great how sewing allows you to copy your favourite clothes? That way it is slightly easier to say goodbye to well-worn pieces.

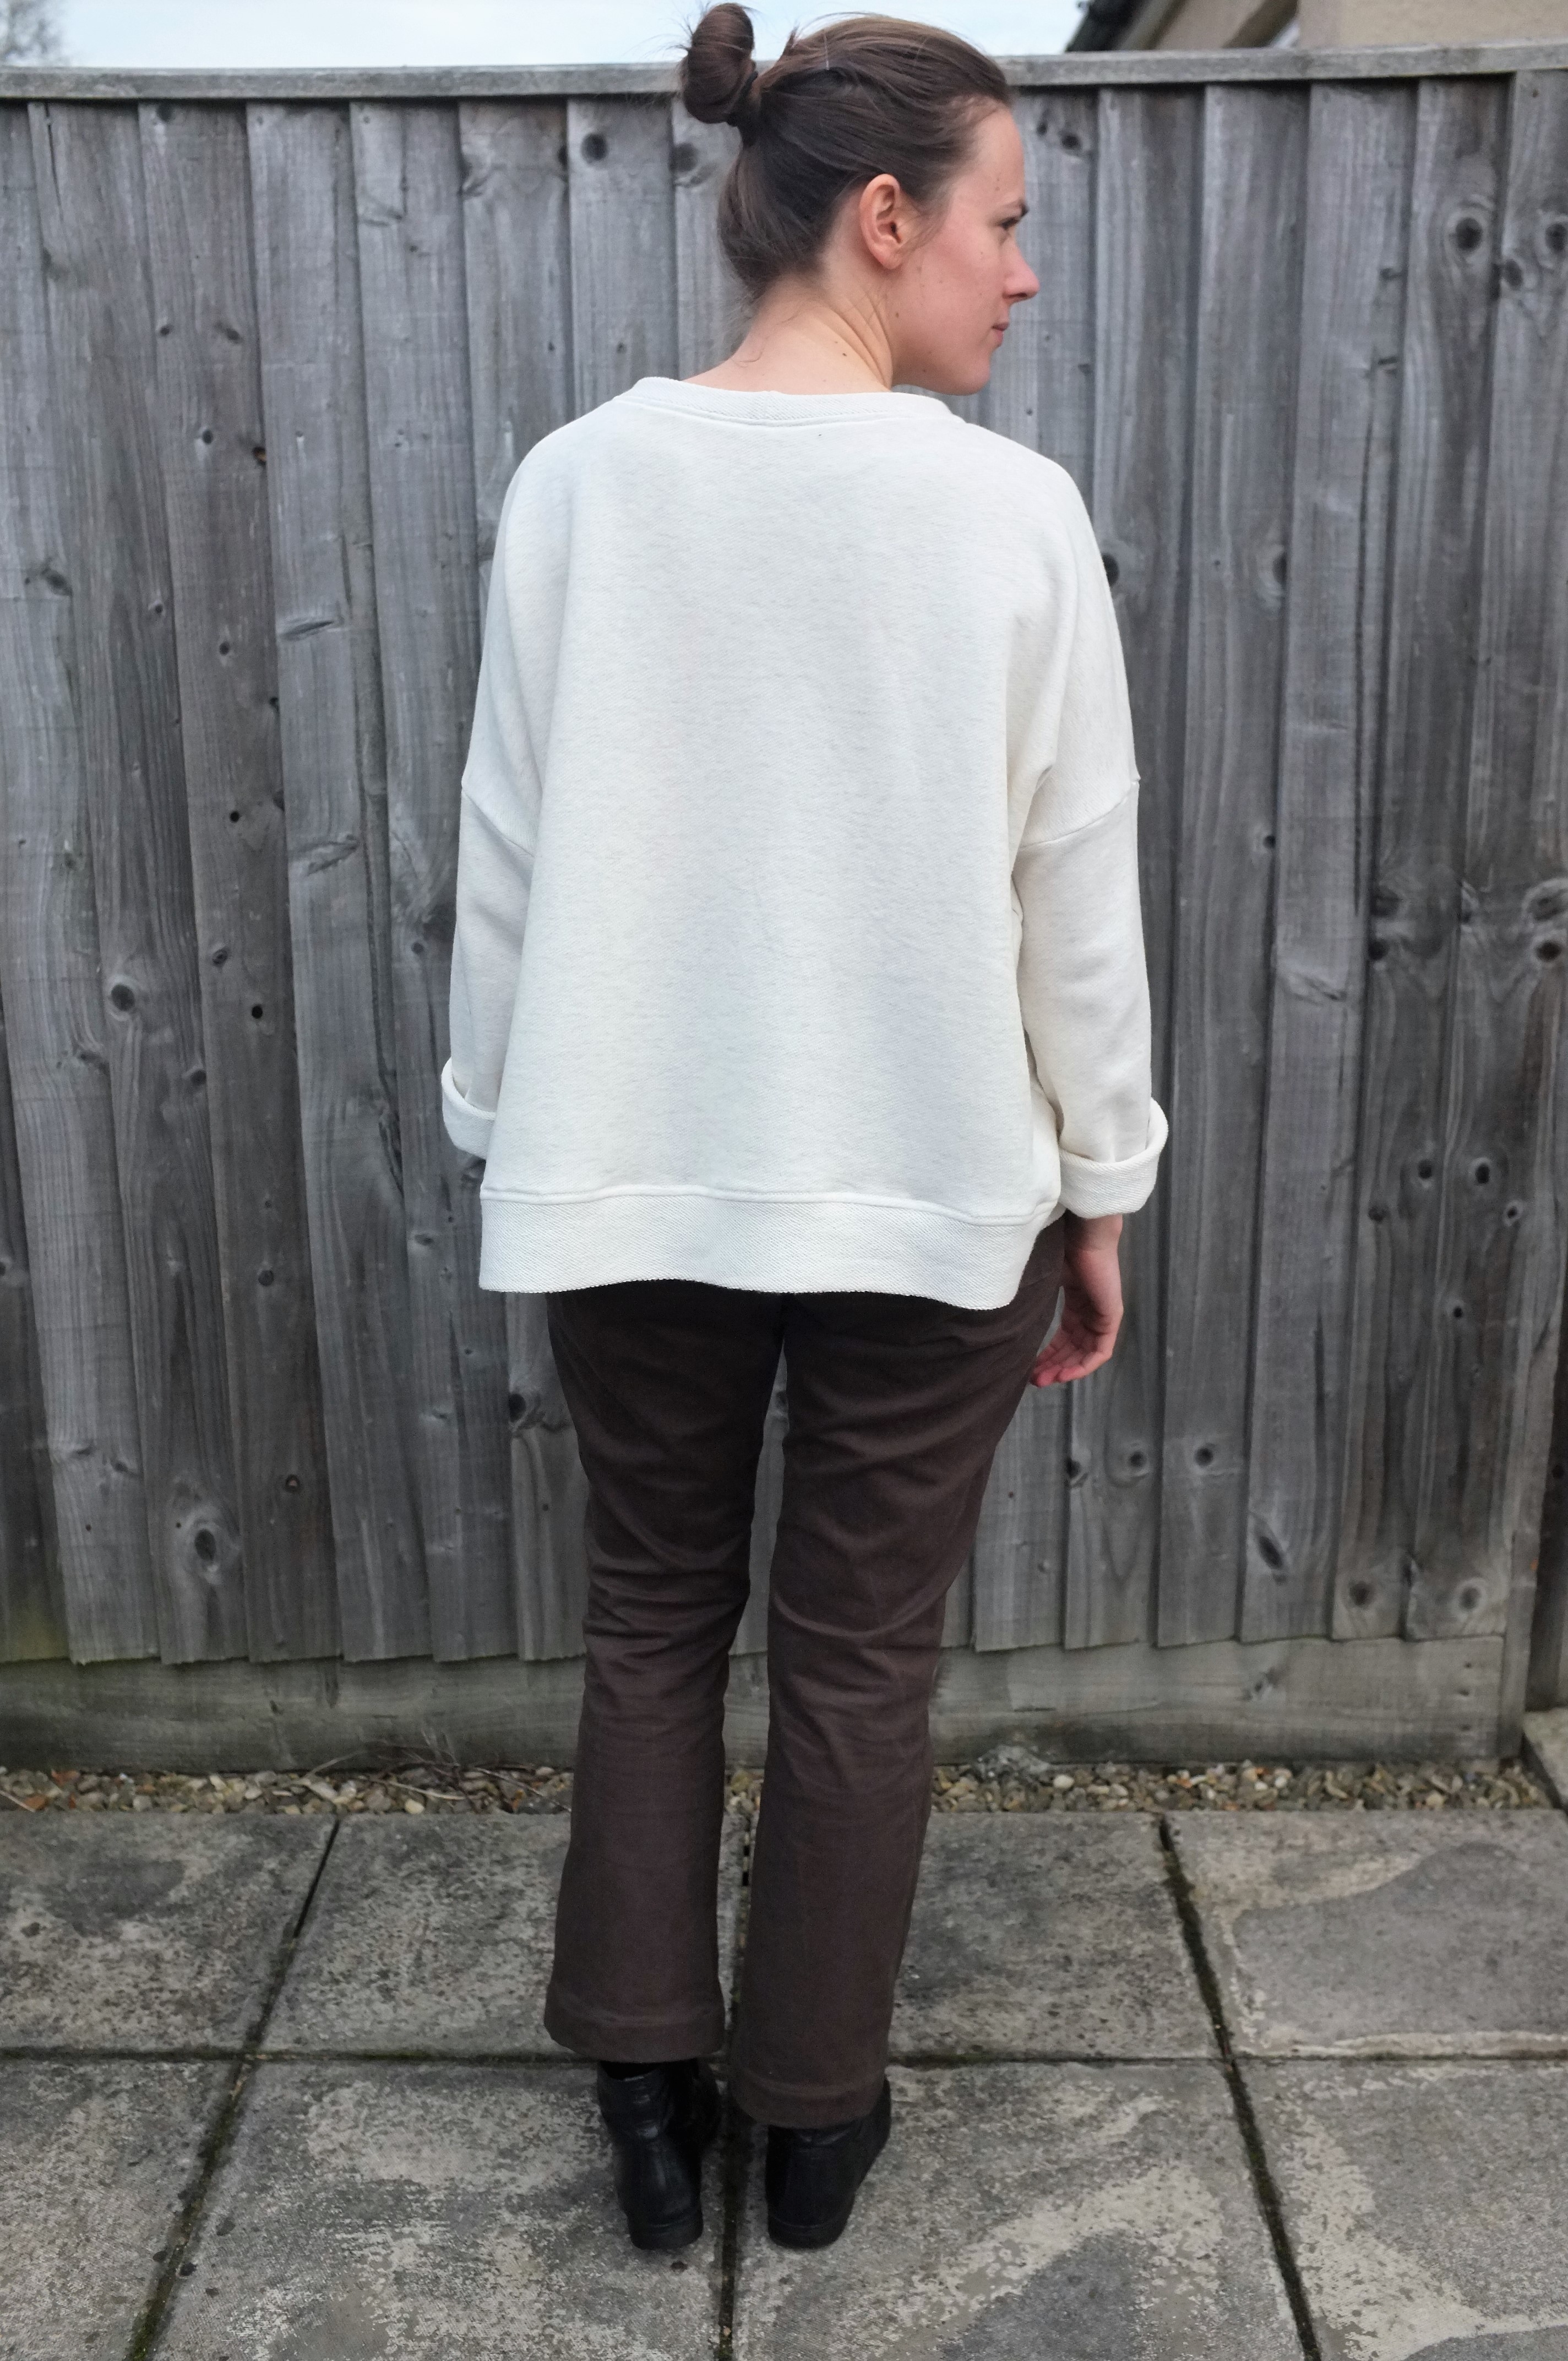


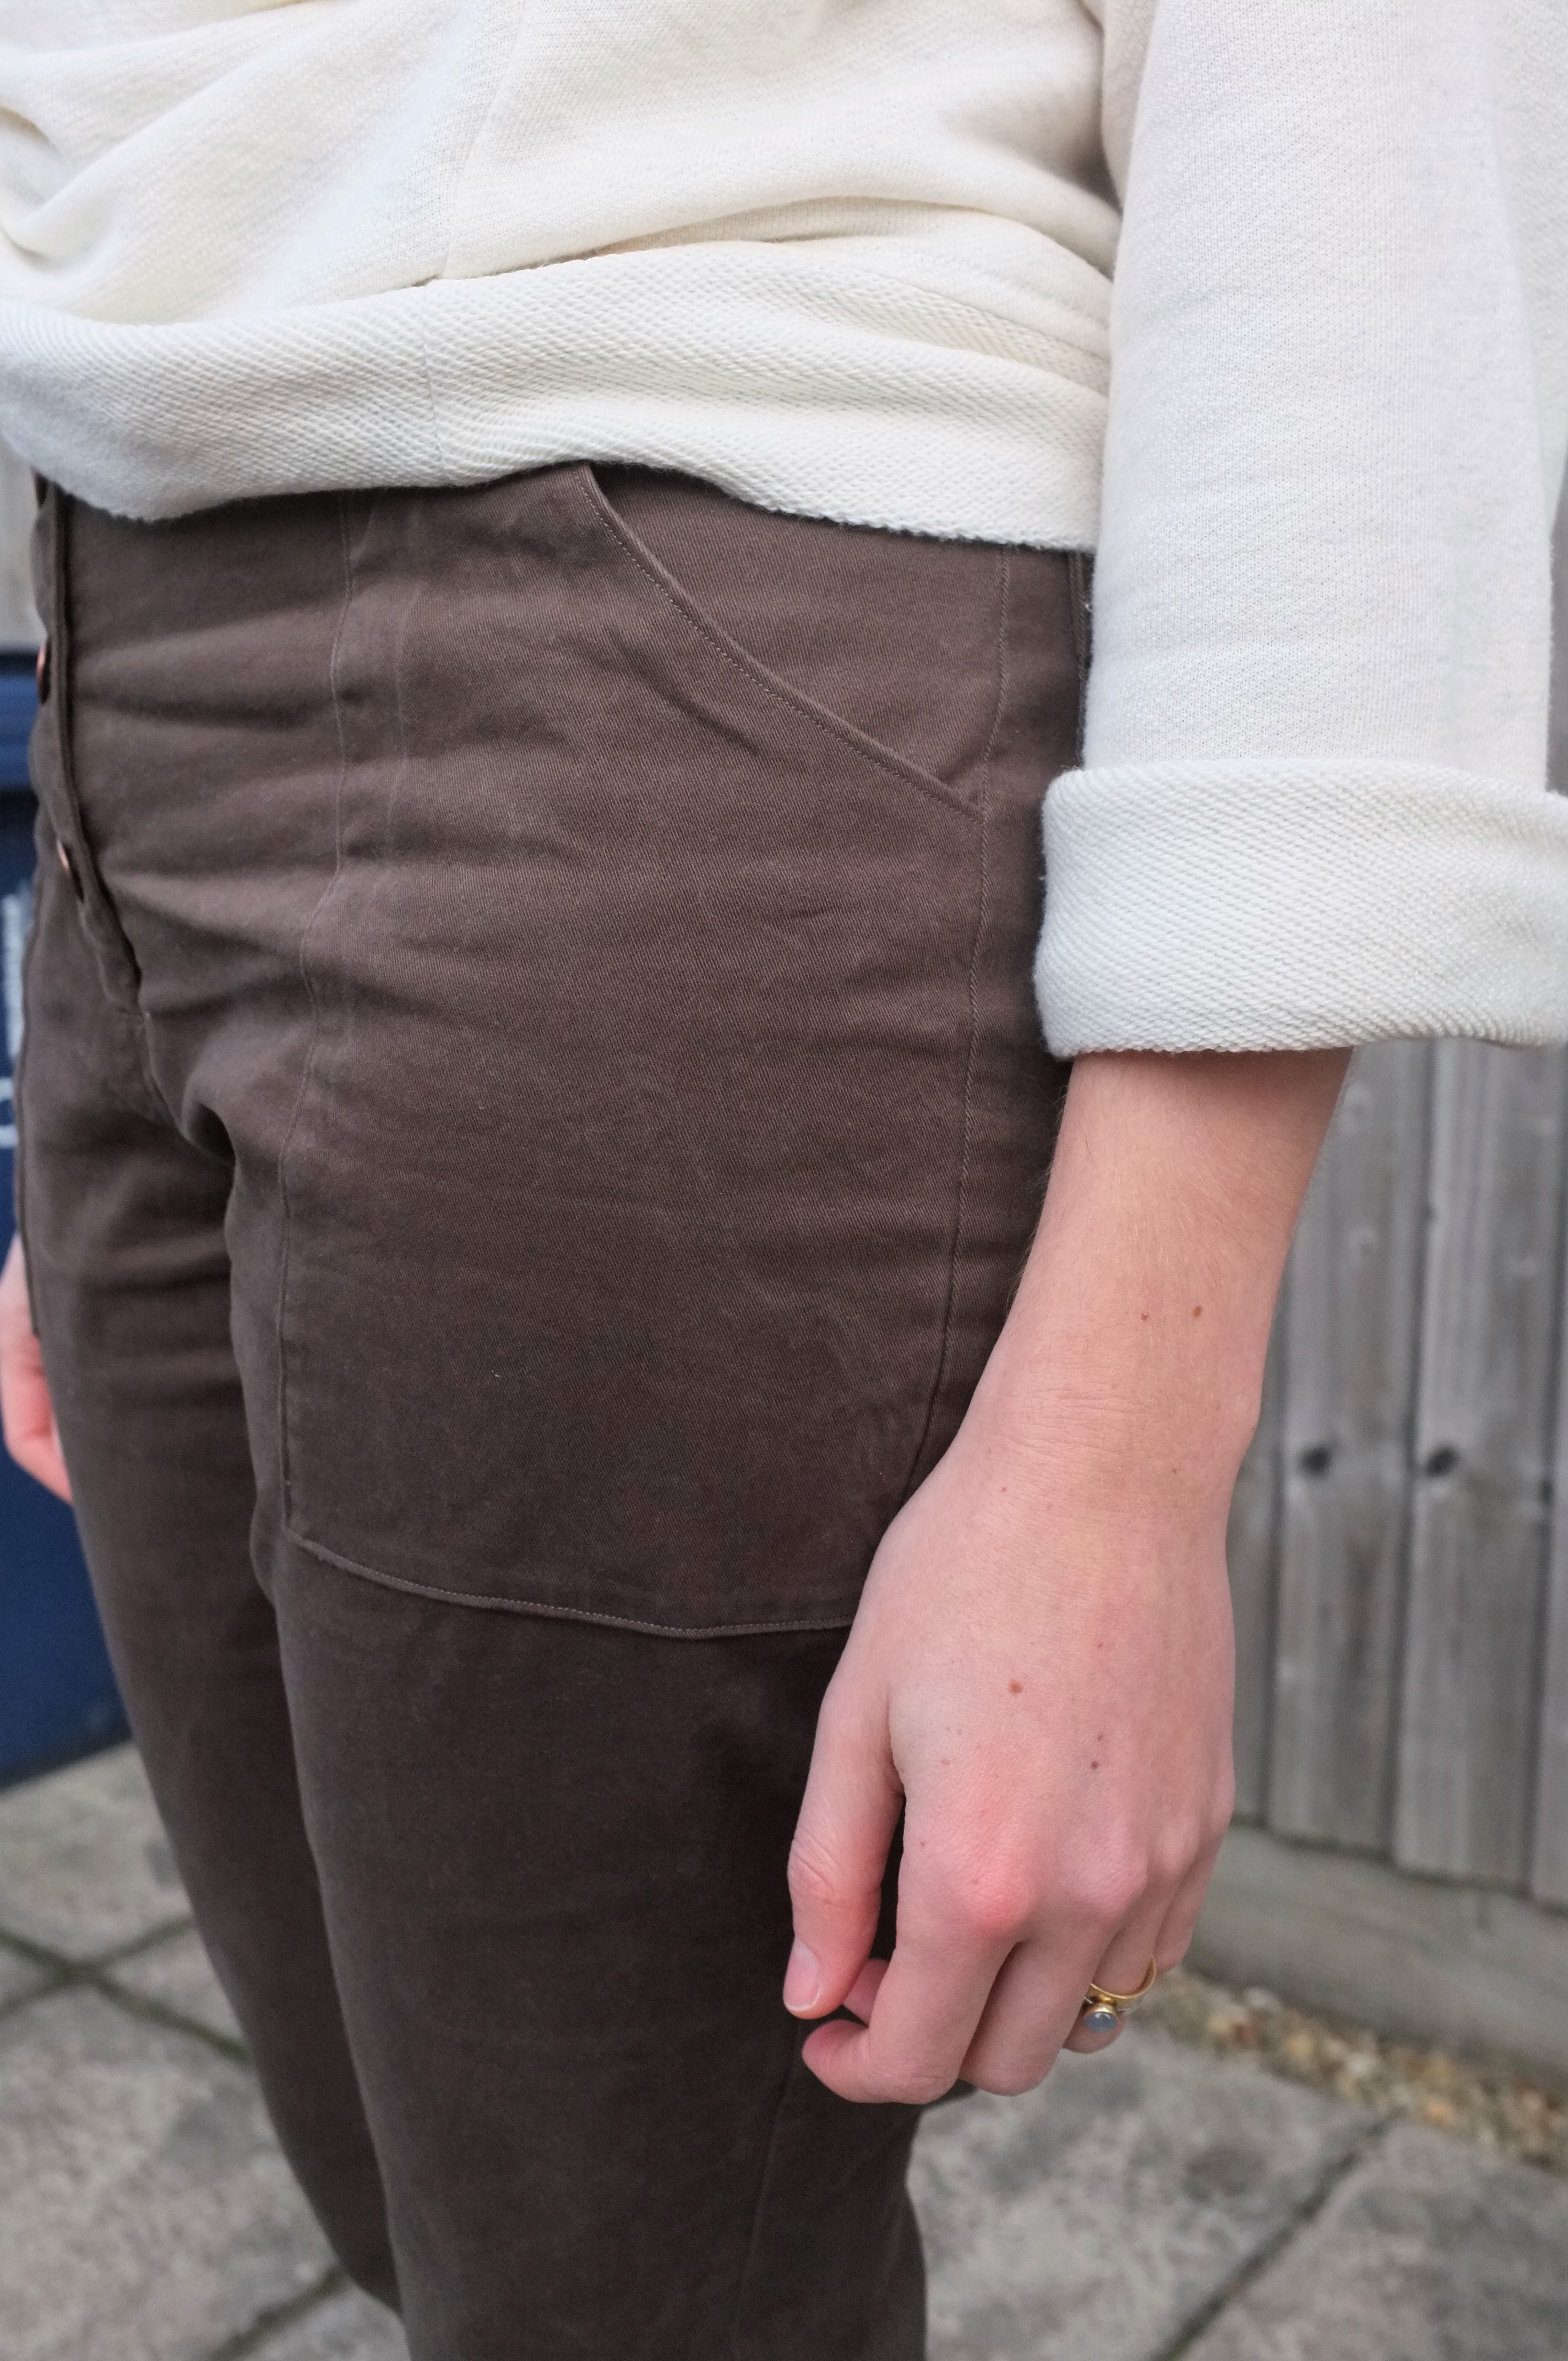
Now let’s talk about these trousers, the True Bias Lander Pant. When this pattern came out it was love at first sight and judging by the reaction of the sewing community I wasn’t the only one. However, in real life our relationship turned out to be a little bit more complicated… But let’s start at the beginning. I picked up a 3 m remnant of this khaki green twill at a trousers fabric wholesaler in my hometown over Christmas. It’s not a colour I usually wear but I realised that it goes very well with my colour palette (especially my many blush pieces) and I thought it would be perfect to test the Lander pattern. The fabric is a medium weight with a little bit of stretch, which the pattern doesn’t call for but I thought it couldn’t hurt as I read a couple of reviews where people struggled to get the fit tight but comfortable. According to the size chart my waist was slightly smaller than an 8 and my hips slightly larger than a 12. I decided I could get away with a 12 in the hips due to the stretch in the fabric and that I could always adjust the fit in the waist through the side seams and the waistband.
The construction was really quick and straight forward thanks to the instructions being very thorough. The button closure really saves a lot of time compared to a full zip fly. And the exposed buttons are really a nice feature. I love the brass colour of my jeans buttons against the green. The only thing slightly odd was the construction of the front pockets. You are supposed to line them by attaching the lining right side to right side to the pocket pieces and then turn them inside out. Then the whole thing is being top stitched to the front. While this helps with neat corners and pocket edges, it requires a lot of precision for the lining not to show at the seams. I did read the instructions in advance and realised that ideally I would need a lining in the same colour of the fabric. As self lining would have been too bulky and I couldn’t find a lining fabric in my stash in the right colour, I went with a scrap of ivory silk in the end, making sure to be extra precise with the pockets.
Then came the fitting and this is where the struggles started. Kelli includes a 1″ seam allowance at the outer leg seam, which in theory should make fitting easy, but in my case the trousers turned out way too big. Not only through the waist and hips but also in the legs there was a massive amount of volume. In combination with the colour, they gave off a serious army trousers vibe that I didn’t like at all. To avoid any rash decisions I decided to wear them around the house for a couple of days to see if I just needed to get used to the volume. I also went through the #landerpant hashtag to see how it was fitting on other people. The trousers are definitely intended to be loose from the hips, but I realised that I was most drawn to versions that were closer fitting through the thighs than mine. I also realised that my fabric was potentially too thin, which led to fabric pooling below my bum which probably would not occur in a very structured denim or twill like the samples.
So there was no way around it, the trousers had to be taken in. I took out as much as I could from the side seams but was restricted by the back pockets, which I cut out in the medium size. I also slimmed down the legs through the thighs but let them flare out again at the hem. I used the original straight waistband but could have benefited from drafting a curved waistband as it’s gaping slightly at the back.
Then I had to decide on the length. I had cut the full boot length without adding any additional length. While I am an average 1.70 m I have disproportionately long legs, but since the pattern called for a very wide hem, I thought I would have some wiggle room. Once it came to hemming though it turned out that even with a narrow hem, the trousers would be slightly too short (the story of my youth). I still hemmed them to see if I could get used to it but it just didn’t look intentional. After letting them sit for another couple of days I decided to shorten the legs a good 6 cm by just folding up the hem twice and top-stitching it. Now they are probably closer to the ankle length view of the pattern. I’m still not 100% sold, but I have worn them out and they turned out to be great for a rainy day, no water creeping up your legs.
So what’s my final verdict? It’s definitely a great pattern but it took a lot of work to get them to a stage where I would actually wear them. Unfortunately it’s not love, yet. I will see how I feel about them in summer, with some lighter shoes and bare ankles. When I make them again (I’ll definitely make the shorts, no leg drama foreseen there) I will size down and use a thicker fabric. I’ll also use the smaller size back pockets and a curved waistband. Then I might get closer to my original vision for these trousers, the perfect retro, high-waisted trousers. Until then I’ll just live through all the cool people out there, that are rocking their Lander pants. Until next time.


You look stunning in these trousers